How to Edit Your Instagram Photos Like a Fashion Blogger
Take a scroll through your Instagram feed and chances are you'll see a stream of perfectly edited photos from influencers from across the globe.
Sure, they live uber glamorous lives and have hair and makeup on hand to look picture perfect—but don't think for one second that their photos come straight from their iPhone or camera and onto your feed looking that good.
A fancy DSLR camera does help with image quality and sharpness, but it's a slew of tricks and trusty photo apps that keep your favorite bloggers with #feedgoals.
Whether you want to start your own blog, or just want to up your Instagram game, below, I break down the secrets on how you can take and edit your photos like a total pro!
Tell Your Photographer to Go Low
A great picture starts with a good angle. It sounds counterintuitive, but tell your lucky picture-taker to squat down and shoot up at you on a slight angle. I promise, you'll look longer and leaner! And no, you won't have a double chin.
Take Selfies Near a Window With Bright Natural Light
Nothing beats natural light. Your skin will look flawless!
Heart Your Favorites
Unless you're Gigi Hadid, you've probably had to snap more than one picture to get the shot. Go through them and favorite the one(s) you like so they're easy to load into your apps.
App 1: FaceTune
FaceTune has gotten a bad rep because bloggers were making themselves look unnaturally waif thin with the Resize tool. But the real magic in this app are with the Whiten, Smooth and Details tools. An airy white background, free of yellows or greens, is more pleasing on the eyes. Use the Whiten tool to brighten and whiten anything that looks sad, or has a strong yellow tinge. I also like to whiten my eyes. This is a game changer!


Next, Details. Use this tool to enhance the sharpness of things. I softly go over my eyes and eye makeup, and even details on my clothes, hair or background that I want to stand out. This one is great for food, too. Be careful though, your eyes can end up looking crazy if you Details too much.

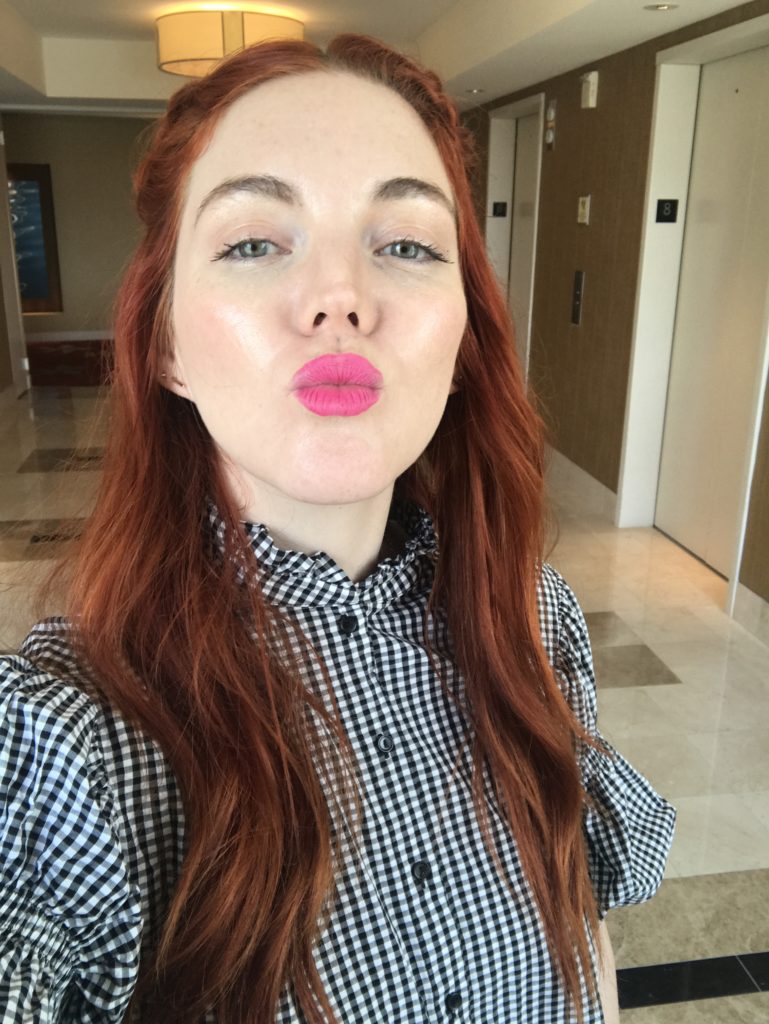
Time for Smooth. Have a pimple? Uneven skin texture? Undereye bags? The Smooth tool is your new BFF. But be very conservative with this—there is nothing worse than someone who has overly smoothed out their face. Seriously, it looks crazy. Below, I smoothed underneath my eyes ever-so-slightly, and the wrinkles on my lips.

App 2: VSCO Cam
Once you're done with FaceTune, I like to load my pictures into VSCO cam. The first thing you want to do here is preselect filters that you like, and use them consistently. This will add cohesiveness to your feed. I use A4, A6, F2, and M3. There are tons of options to choose from, and you can purchase different packages to access even more filter options. You can also tap on the filter to control the intensity. I tend to apply about 50%, see below.


You can also go in and change the brightness, sharpness and color temperature if you'd like! I always like my photos to be on the cooler side.

And there you go! You've edited your picture like a total Instagram pro. A good rule of thumb: Stick to two editing apps. Every time you throw on a filter or use a different app, it lowers the resolution. So to keep your pictures looking sharp, just use two!
For more on looking your best (either on camera or in person), click HERE to read why super long hair is the next big beauty trend!